How to Install a Receptacle
How to Install a Receptacle in Your Charleston, South Carolina Home
Replacing or installing a new receptacle has the potential to be an easy task with the right tools and a clear understanding of the process. Installing a receptacle can be a straightforward and rewarding DIY project. In this article, we will provide you with step-by-step instructions on how to replace and install a new receptacle in your Charleston home safely and effectively.



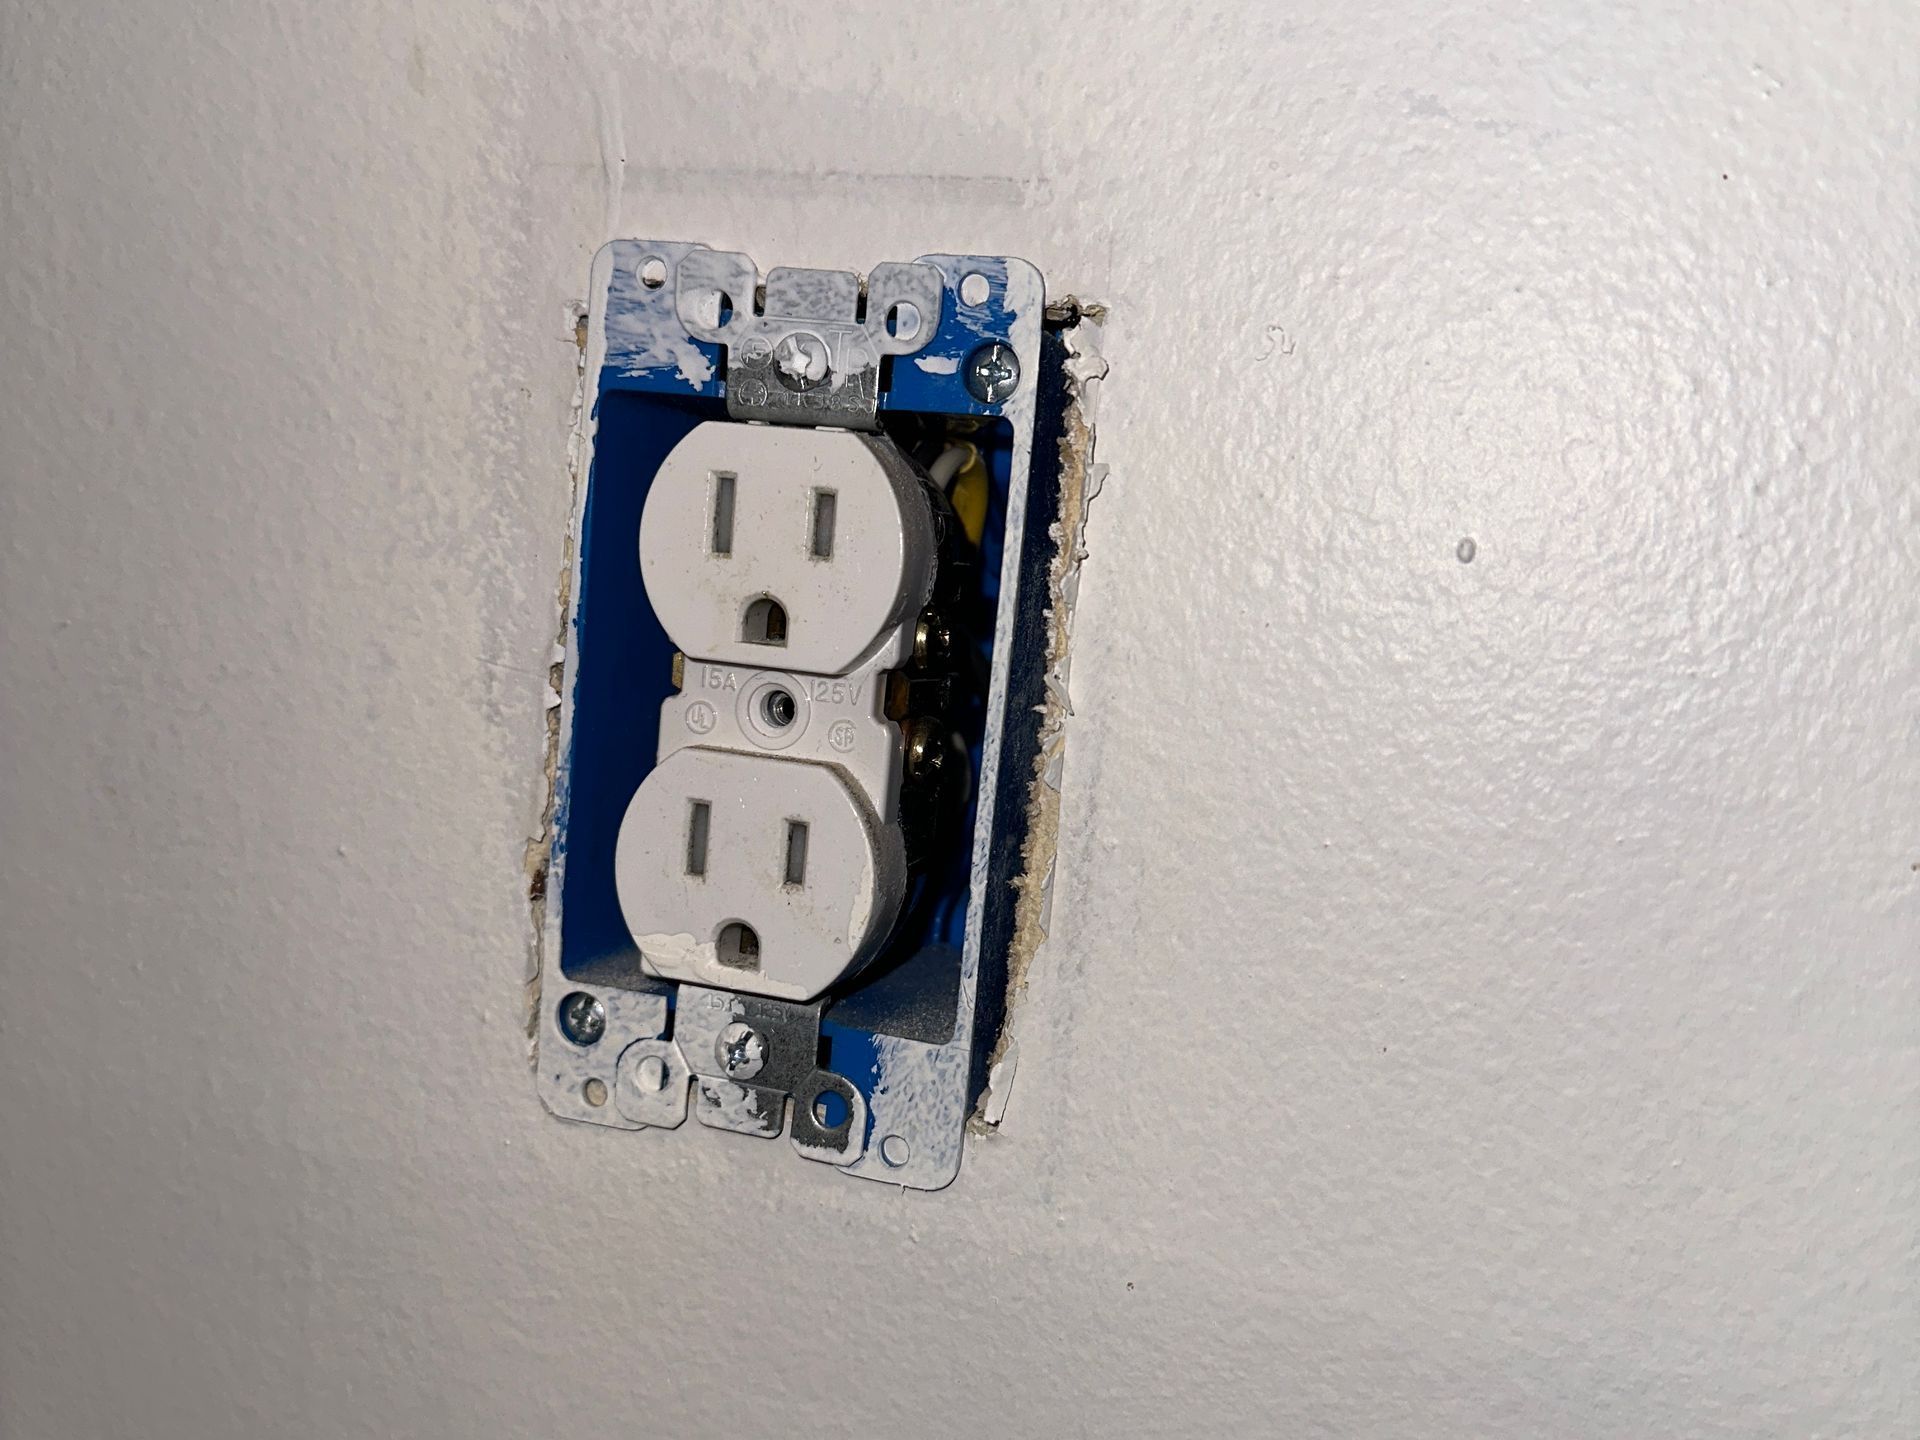
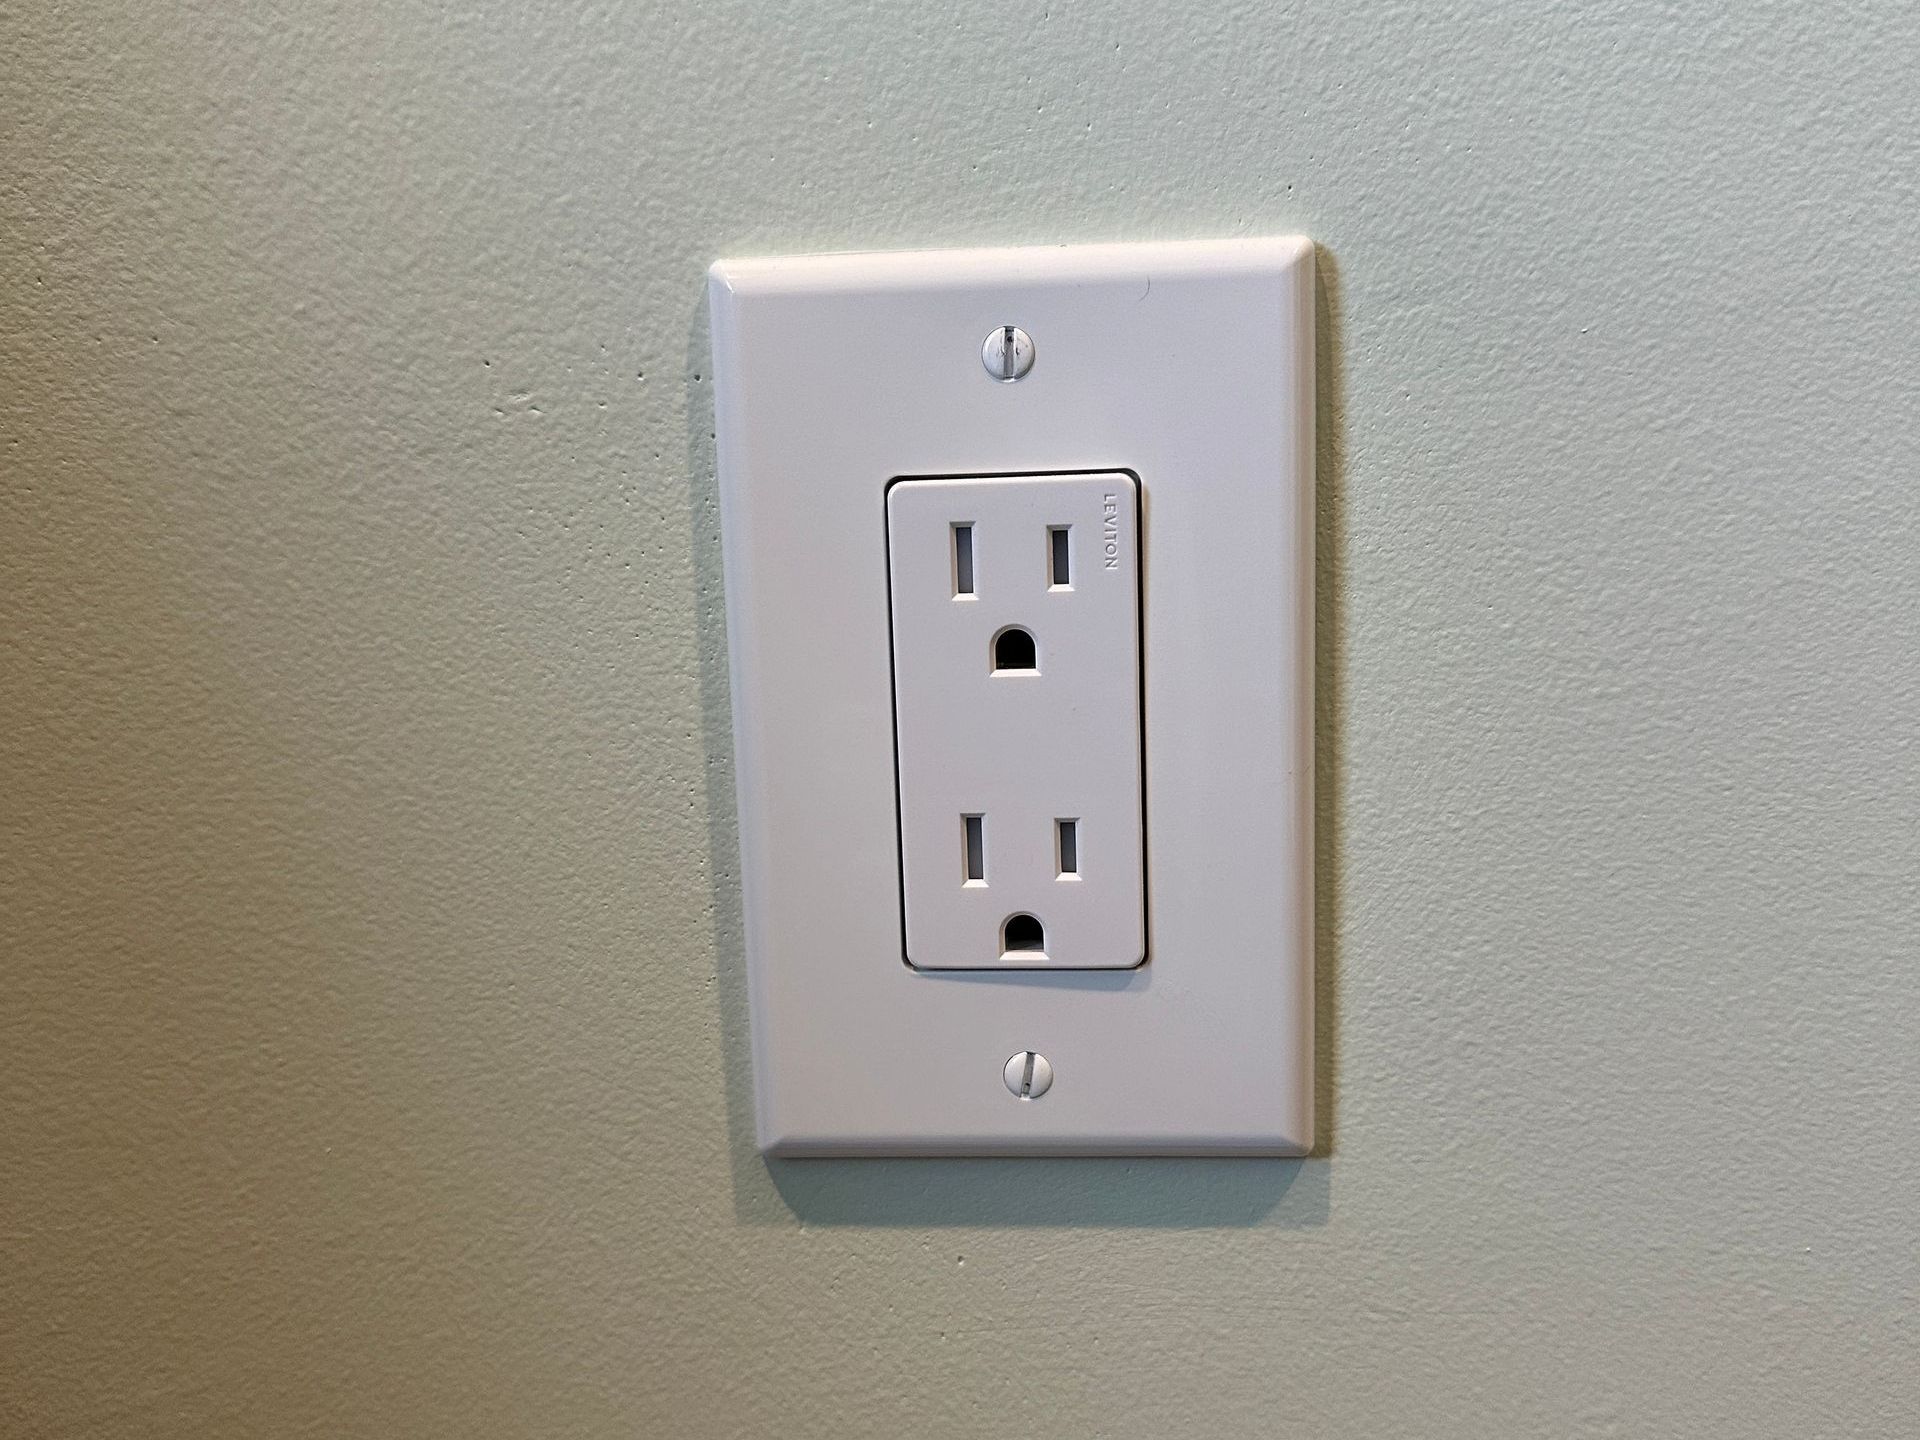
A couple reasons for to replace your receptacles/outlets:
- Outlet is cracked or damaged
- Outlet has been painted over and create arcing/sparks when connecting a plug (electrical hazard)
- Outlet is loose and not secure
- Plugs fall out of outlet
- Power is intermittent
- You can hear a crackling sound when using the outlet
- Evidence of discoloration around the outlet (darker colors/burnt).
- Existing outlets are not tamper resistant and you have young children
This is not an exhaustive list but a good place to start when assessing your outlets.
Materials and Tools Required:
Before getting started, make sure you have the following materials and tools on hand:
- New receptacle and plate
- Flathead screwdriver
- Phillips screwdriver
- Wire stripper
- Voltage tester
- Electrical tape
- Needle nose pliers
- Work gloves
- Safety eye protection
Step 1: Turn off the Power
Safety is the highest priority when working with electricity.
Before you begin any work on the receptacle, make sure to turn off the power to the circuit at the breaker box. Test the receptacle with a voltage tester to ensure it is no longer live.
Step 2: Remove the Old Receptacle
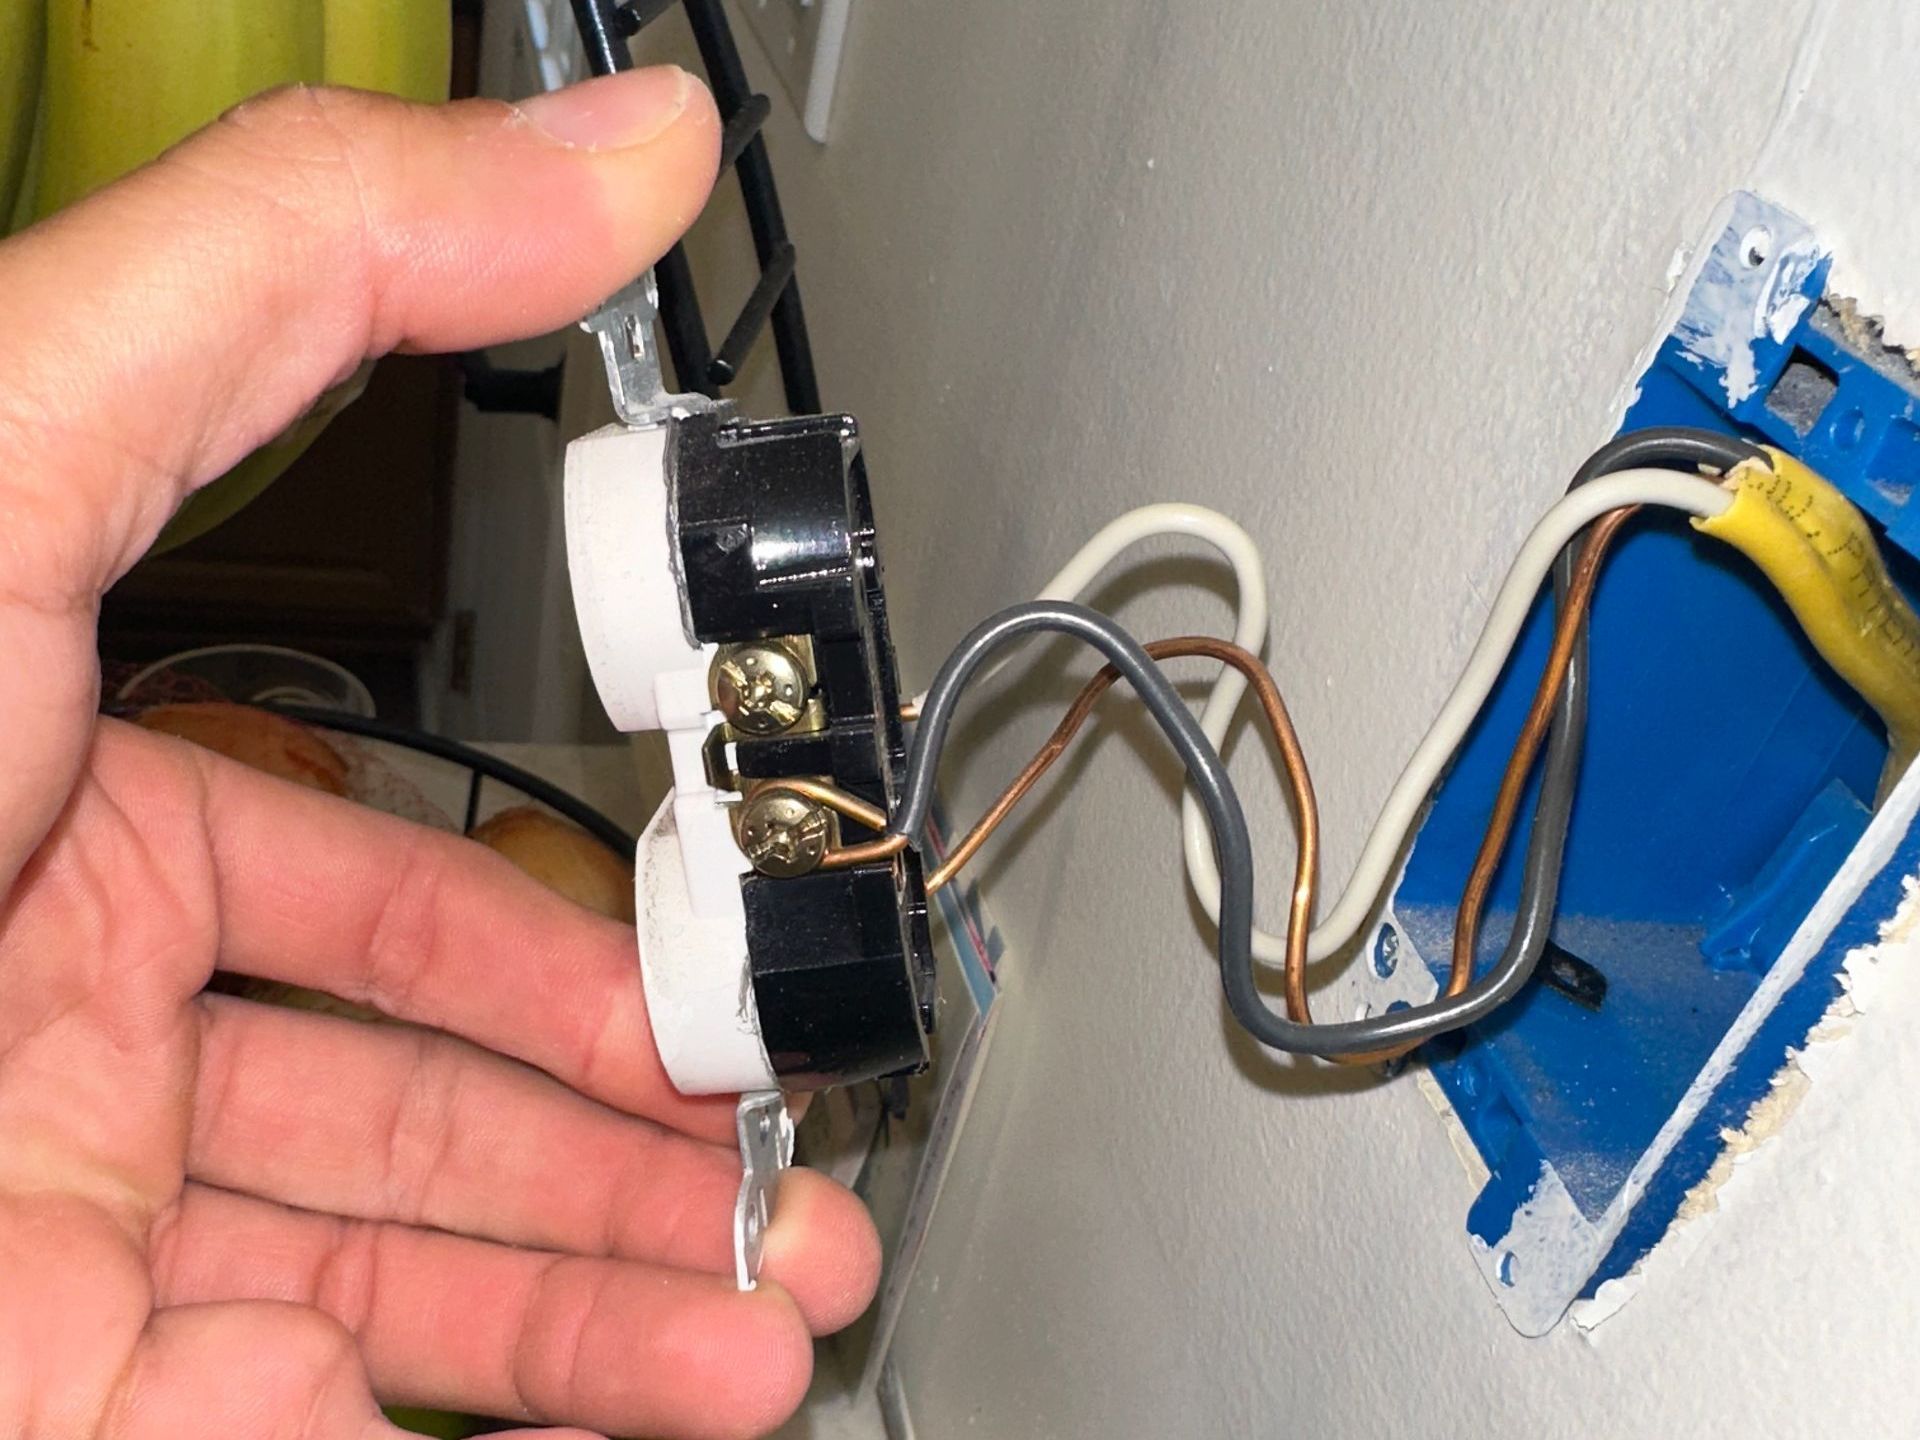
Use a flathead screwdriver to unscrew the cover plate of the old receptacle. Then, unscrew the mounting screws holding the receptacle in place and carefully pull it out of the junction box.
Take note of how the wires are connected to the old receptacle before disconnecting them. Take a picture as a reference for when you're ready to install the new receptacle.
If you see any discoloration on the outlet/device around the terminations or if the wires are not connected to the correct terminals, stop immediately and call a local electrician. Skip to Step 5 for a description of proper wiring.
Step 3: Disconnect the Wires
Using a screwdriver, loosen the terminal screws on the old receptacle and disconnect the wires.
Remove the old hooks as they may be weak from years of wear and tear from the outlet.
Step 4: Prepare the Wires
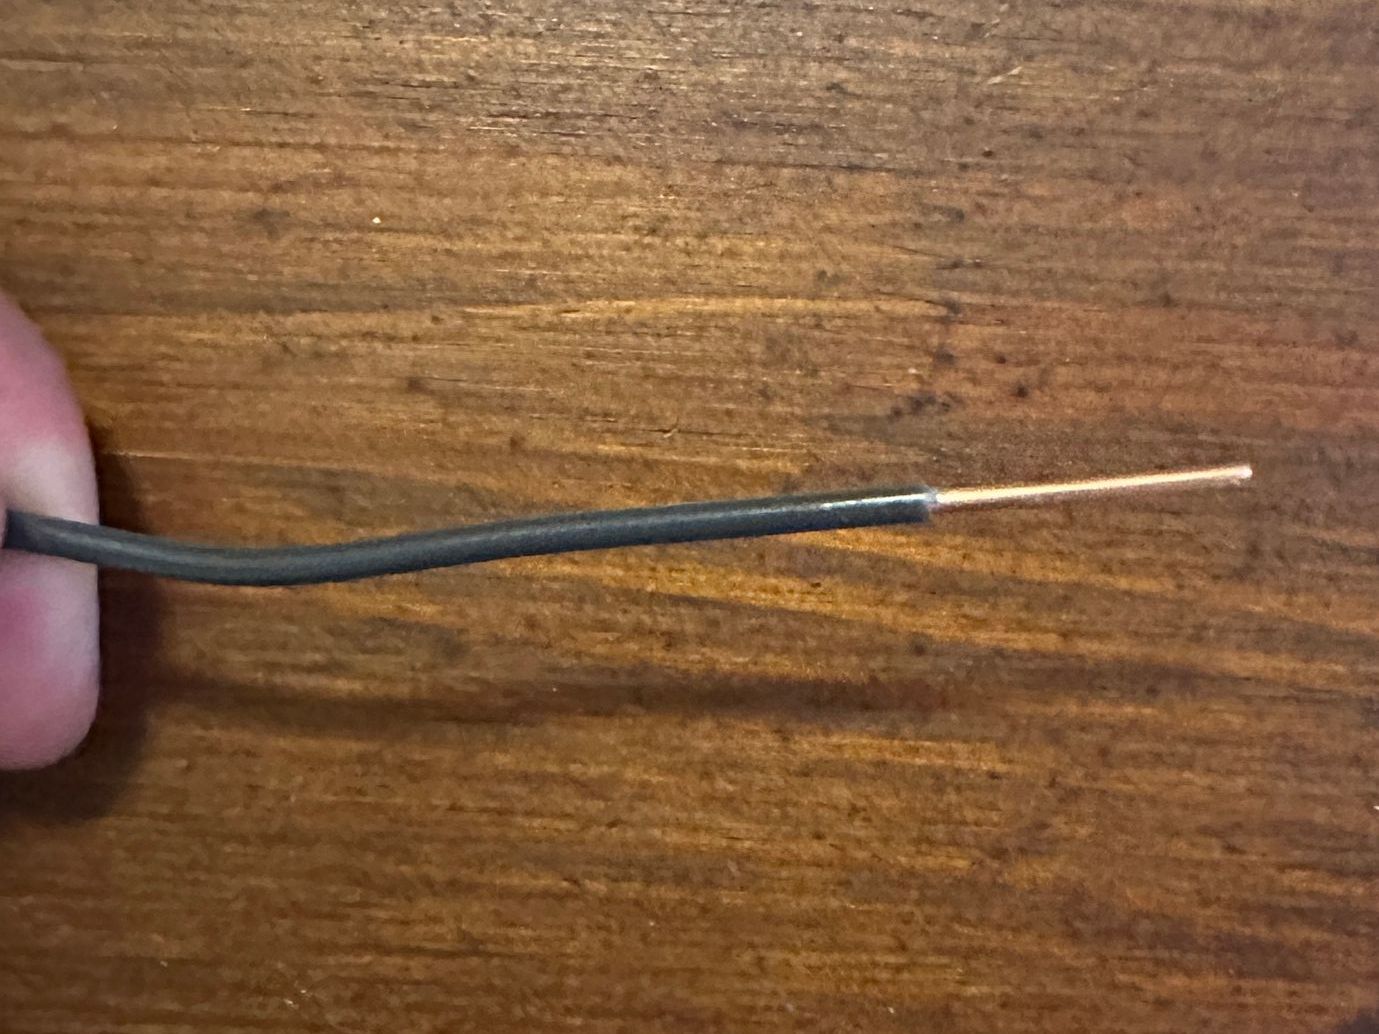
Using a wire stripper, strip about ¾ inch of insulation from the ends of the wires. If the wires are damaged or frayed, trim them back to expose fresh wire.
With your wire stripper, make a hook at the end of each wire. See video below for an example.
Step 5: Connect the Wires to the New Receptacle
Attach the black (hot) wire to the brass-colored terminal screw, the white (neutral) wire to the silver-colored terminal screw, and the bare or green (ground) wire to the green terminal screw on the new receptacle. Tighten the terminal screws securely to ensure a proper connection.
Step 6: Secure the Receptacle
Carefully fold the wires back into the junction box, ensuring they are not pinched or frayed. Secure the new receptacle to the junction box with the mounting screws and attach the cover plate.
Step 7: Test the Receptacle
Turn the power back on at the breaker box.
Test the new receptacle with a voltage tester to ensure it is working properly.
In Conclusion
In conclusion, installing a new receptacle in your Charleston, South Carolina home is a manageable task that can be accomplished with the right tools, materials, and knowledge. By following these step-by-step instructions, you can safely and effectively replace or install a new receptacle in your home.
Remember to always prioritize safety and consult a
local electrician if you are unsure about any part of the installation process.

The Blog By The River


